N is for Neenish Tarts

One of my Nana's favourites, Neenish Tarts are a little sweet pastry case with a creamy filling & iced in half chocolate, half vanilla hard set icing. It's the half white/half dark brown top that Neenish Tarts are so well known for.
Now, as a proud New Zealander who fiercely contests the origins of the pavlova (some say it was invented in Australia - pft to that I say!) I will give credit where credit is due & tell you that according to Wikipedia, Neenish Tarts were invented in Australia. They're most common there & in New Zealand.
As to the origin & unusual name, not much is known for sure, however according to trusty Wikipedia once again, the first known reference to Neenish Tarts dates back 1913 when the recipe was set out in a Western Australia newspaper. Since then, there have been a few variants on the recipe. Some call for a custard filling, some a mock cream filling. The recipe I have chosen to follow today, comes from New Zealand's good old 'Edmonds Cookery Book', which is for a Neenish Tart with a lemony condensed milk based filling & topped with half vanilla & half chocolate hard set icing.
Pastry of any sort has always been my nemesis - I never have much luck making my own for some reason. It frustrates me no end. My pastry always seems to crumble & is often difficult to roll out without it tearing at the sides (note to self: research what it is that makes a good pastry). So imagine my delight at finding out that Neenish Tarts have a sweet pastry case. But... I didn't let that deter me! I still struggled with the pastry & it crumbling a bit when I rolled it out, but I got there in the end & limited the number of tarts that I made to 12 (the recipe makes 30 - I would have been there all day!).
In terms of equipment, you'll need a biscuit cutter of around 7 cm in diameter & a set of non-stick patty tins. I found these patty tins in a department store & they worked out well as they were quite shallow so there was a good balance of pastry to filling & icing...

Now, you could also use cupcake pans but bear in mind that the cases will obviously be deeper & you'll need more filling. I think that too much filling & icing would make the tarts quite sickly sweet. So just bear that in mind when you decide on what pans to use.

Now, you could also use cupcake pans but bear in mind that the cases will obviously be deeper & you'll need more filling. I think that too much filling & icing would make the tarts quite sickly sweet. So just bear that in mind when you decide on what pans to use.
On to the recipe...
It makes 30 tarts
It makes 30 tarts
For the sweet pastry
125g soft butter
1/2 cup white sugar
1 egg
2 cups plain flour
1 teaspoon baking powder
Pinch of salt
What to do...
- Ensure your butter is very soft for a start. Either zap it quickly in the microwave for a few seconds at a time or cut it into cubes & sit it in a bowl of tepid water for a few mins.
- Cream butter & sugar until pale in colour & fluffy in consistency. You could probably save a lot of time by doing this with a hand held electric beater. But, if you can't be bothered getting the electric beater out, just do it by hand using a wooden spoon.
- Add the egg & beat well.
- Sift the flour, baking powder & salt & then add to the creamed mixture. Stir well until everything is combined & it starts coming together. At this stage, I used my hands to combine the dough into one lump.
- Lightly flour your bench & turn the dough out. Knead it for a couple of minutes & then form it into a disc. Wrap in clingfilm & then leave to rest in the fridge for 15 mins.

- Heat your oven to 180C static or 160C fan bake.
- Grab the patty pans & spray them lightly with cooking spray - or grease well with butter.
- Remove the pastry from the fridge. Lightly flour your kitchen bench again & then roll the pastry out to a few mm thick - mine was around 4 mm. The recipe calls for a thickness of 2 mm.
- Cut out rounds using a 7cm ish biscuit cutter (or a size that will best fit your patty pans, remembering to allow for the pastry to be pressed down a bit into the pan) & place each one into the patty pans. Press each round of pastry gently into the patty pan. Grab a fork & prick the bottom of each pastry case twice.

- Bake for 12 minutes or until the cases are cooked & look nice & golden.
- Remove from the oven & leave the cases in the patty pans to cool completely before filling them.


Ingredients for the filling
1/2 cup icing sugar
100g soft butter
1/2 cup sweetened condensed milk
2 tablespoons lemon juice
What to do...
- Sift icing sugar into a bowl.
- Add butter, condensed milk & lemon juice. Beat until smooth.
- Fill pastry cases not quite to the top of the cases (allowing room for a thin layer of hard set icing on top).
- Leave the tarts to set in the fridge before icing the tops.
Ingredients for hard set icing for the tops
You'll need to make a white icing, divide this in half & then add sifted cocoa powder to one half to make your chocolate icing.
For the icing...
2 cups icing sugar
1/4 teaspoon soft butter
About 2.5 tablespoons water
1/4 teaspoon vanilla essence
What to do...
- Sift icing sugar into a bowl & add the butter & a little water at a time to reach a spreadable consistency (you can always add more sifted icing sugar to thicken & more water to thin if need be). Mix in the vanilla essence.
- Scoop out half of the white icing & place in a separate bowl. Leave to one side until you are ready to add the cocoa & ice the other side of the tarts.
- To make the chocolate icing, add 1 tablespoon of sifted cocoa powder & mix in, adding a little more water to gain a spreadable consistency.
TIP: You don't want the icing to be too runny because you'll have no end of problems with it running off the sides of the tarts. So aim for a thick, spreadable consistency that just slowly falls off the end of a knife.
To ice the tarts
I used a small palate knife to ice the tarts & I left them in the patty tins to set once iced.
First, ice half of the tarts with the white icing & then leave to set for a few minutes before icing the other half with the chocolate icing.
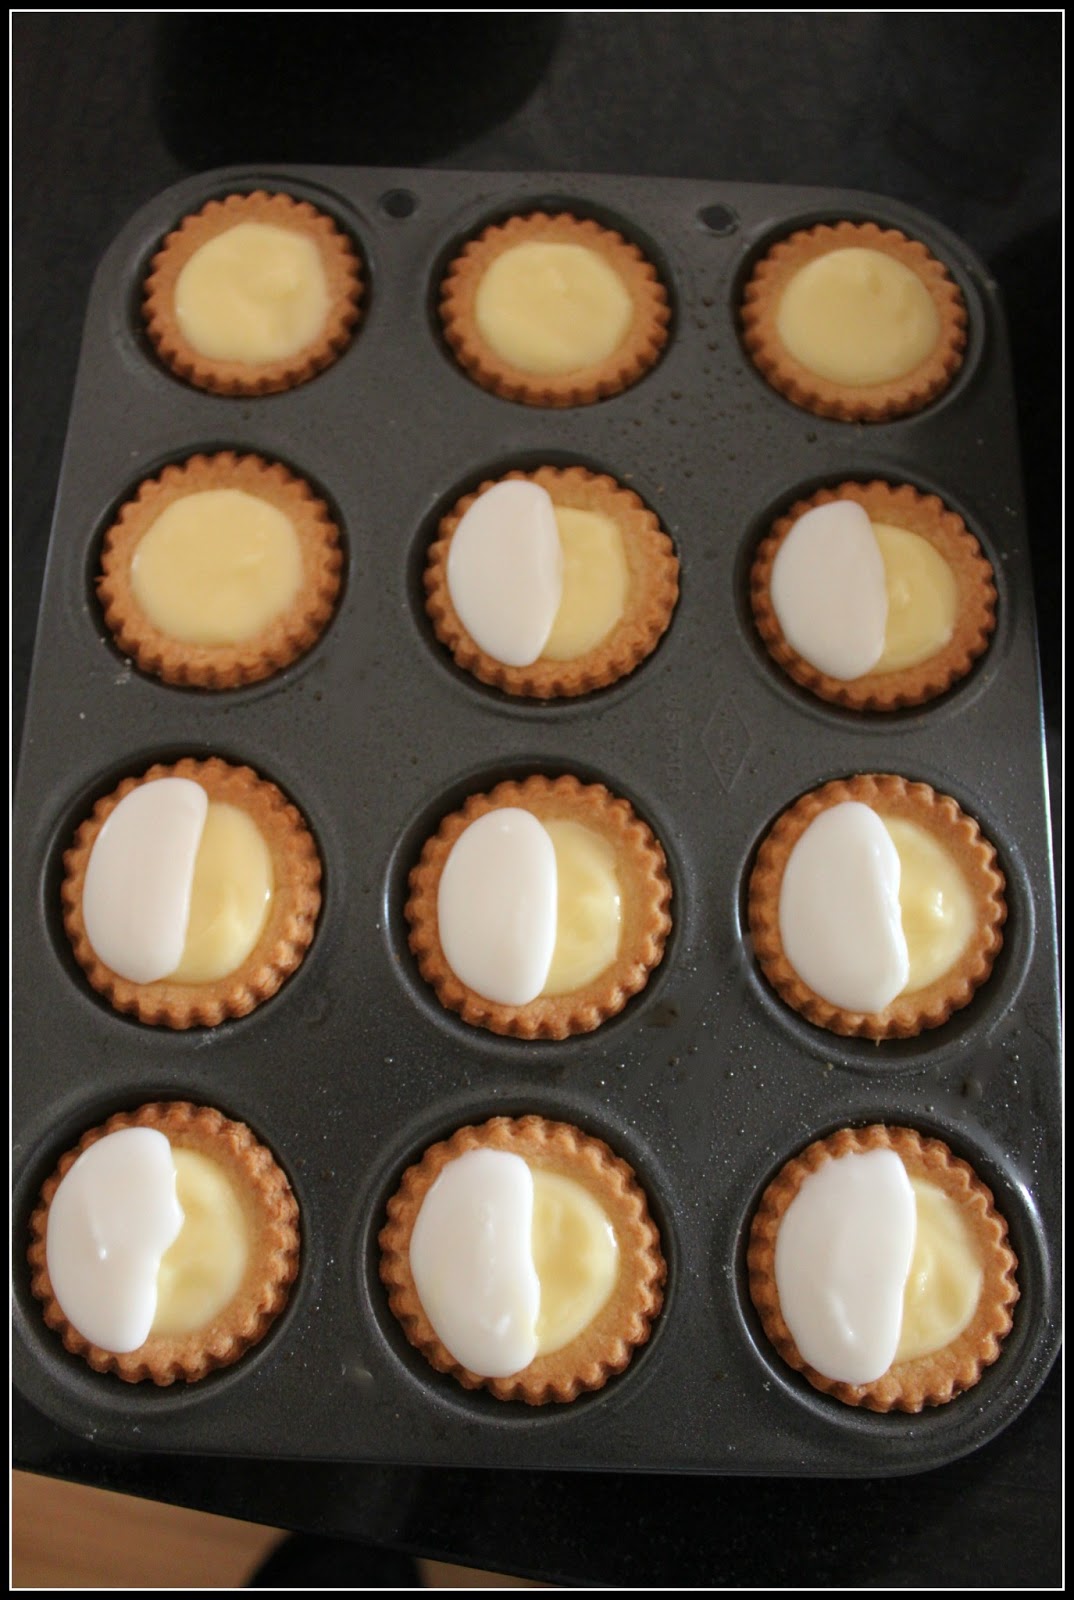
You will only need a small dollop of icing for each half. The best way to achieve a neat half is to scoop a little icing onto the end of the knife, then point the knife straight down over the tart - holding it a couple of cms above the tart to let the icing slowly fall off the knife. Gently guide the icing down the centre of the tart & then work your way around the middle & outside of that half. Next, clean your knife by scraping off any excess icing from the knife using the side of the bowl you have your icing in. Then gently push the icing around the half of the tart so the whole half is covered.
Once you have iced both sides of the tarts, leave them to set completely.
Neenish Tarts look really cute with their half white & half dark icing, so I think they would be the perfect choice for a special afternoon tea.


Hi! Where ever did you get those to-die-for shallow pans? Could you perhaps give me the brand / manufacturer name so that I can trace or locate it? I've found several shallow cupcake pans but none with a smooth bottom like yours sort of half ball cup cake pan. Please let me know! Lovely recipe btw! Regards. Reply Email: cwaltz09@gmail.com
ReplyDeleteI ordered some lovely ones from amazon.co.uk last year: http://www.amazon.co.uk/gp/product/B000FLT7LM/ref=oh_details_o01_s03_i02?ie=UTF8&psc=1. Hope this helps!
DeleteThank You and that i have a swell supply: What House Renovations Need Council Approval home kitchen renovation
ReplyDelete